
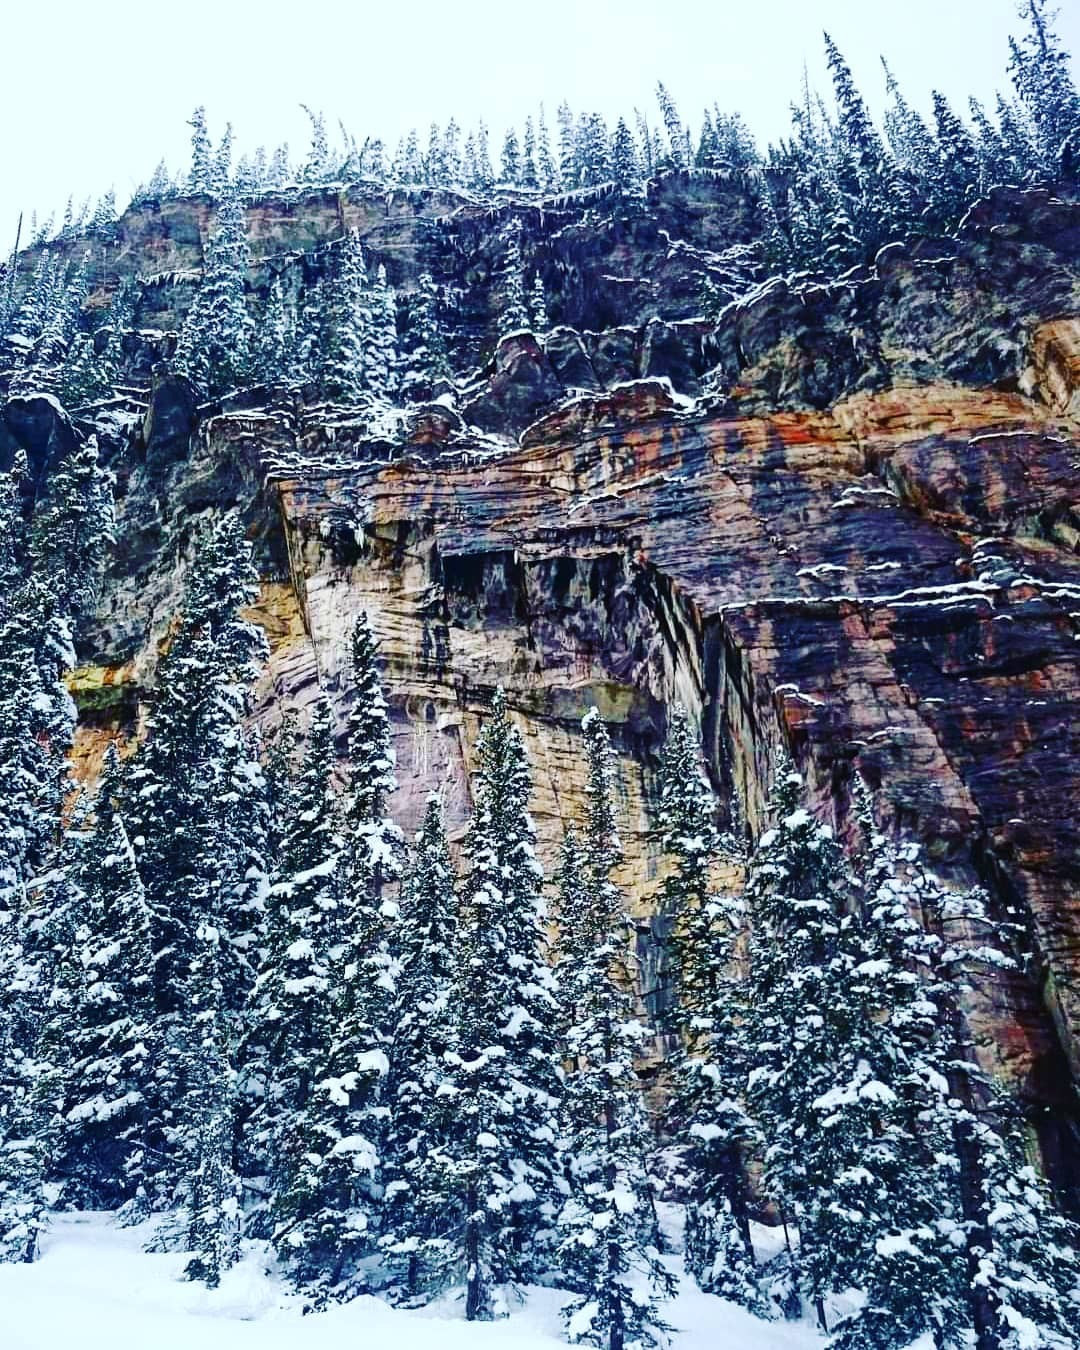
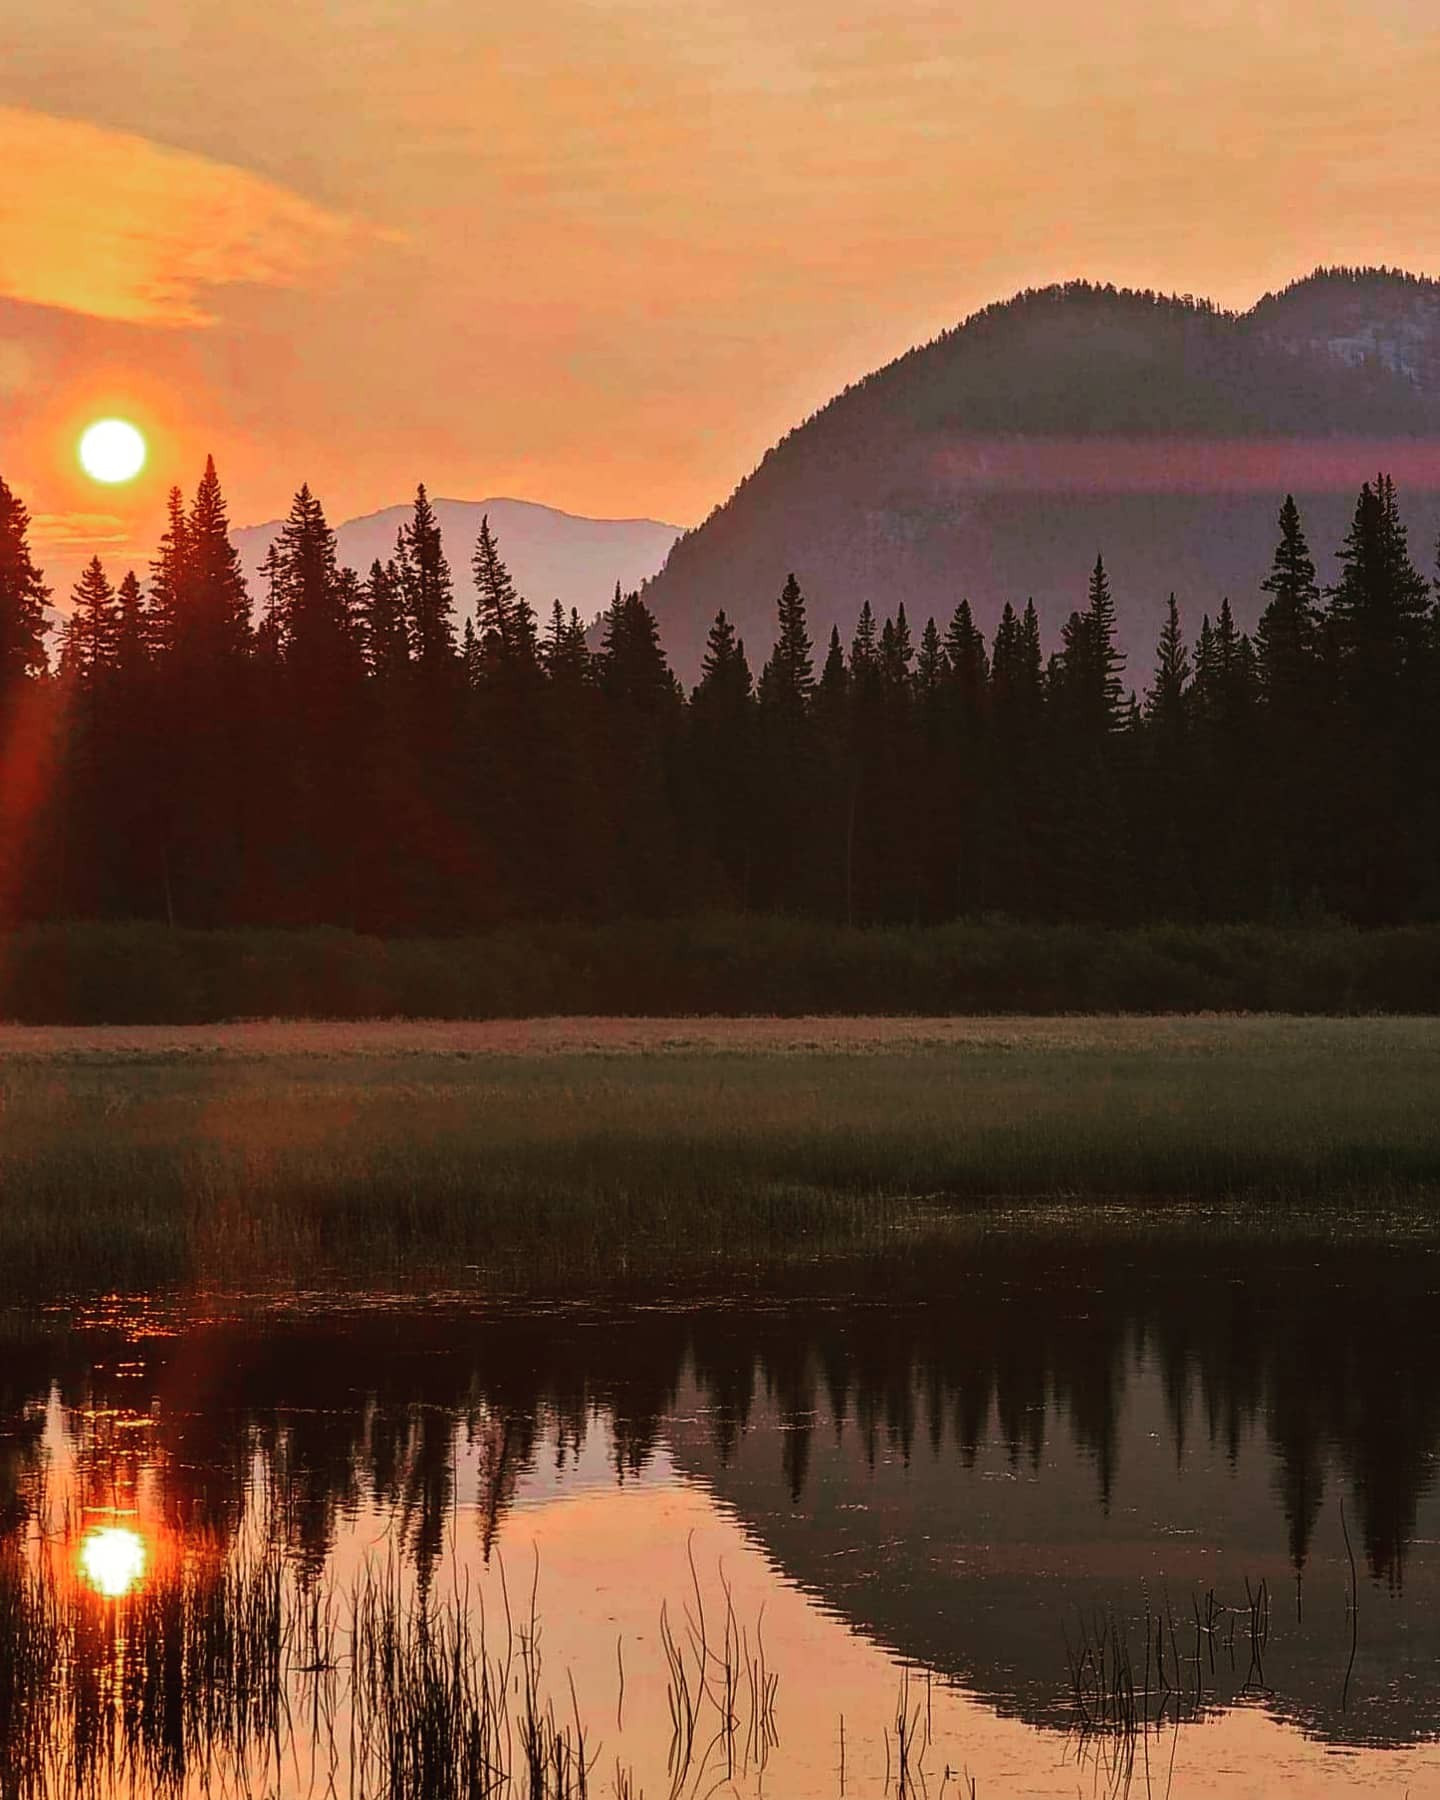
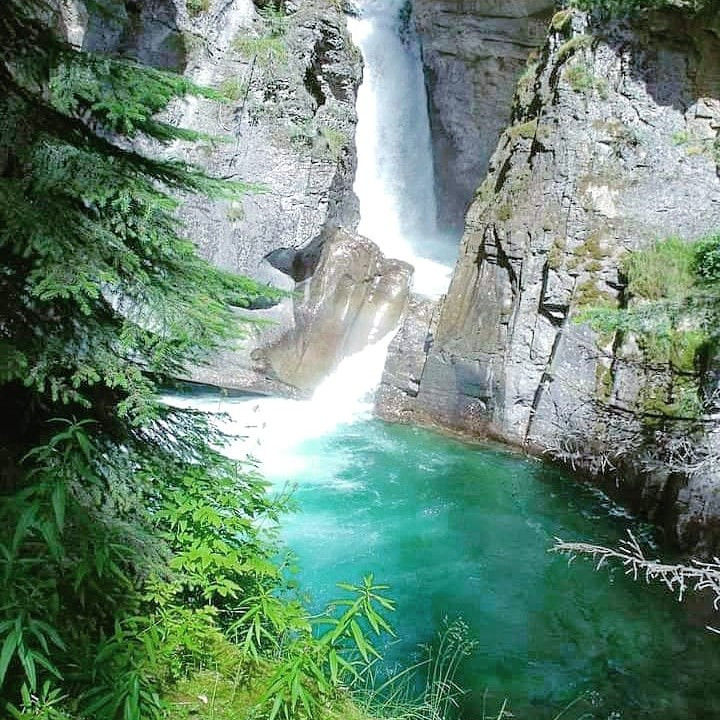
For all of you who partake in “Larch Madness” this hike might be one you want to do in the fall, as larches are plentiful around Arnica Lake. Accessed from the Vista Lake Viewpoint on Highway 93 South. After leaving your vehicle follow the easy trail down to the beautiful emerald green lake. Once at Vista Lake take a break because after this is a relentless uphill hike as the trail follows Altrude Creek to Arnica Lake with Storm Mountain (3100m) as a backdrop for the lake.
Distance: 9.34 km (return)
Elevation: 570m
Distance: 3.44km (return)
Elevation Gain: 60m
Accessed South on Highway 93 at the Boom Lake Day-Use Area. From the parking lot head across the bridge over Boom Creek as it makes a relatively gentle ascent through the forest as it heads towards Boom Lake. Just after the 4km mark this trail opens up, when the trail begins to open up – Boom Lake is just ahead. Once at Boom lake you are greeted with amazing scenery thanks to Mount Bell (2910m) to the North with Boom Mountain (2760m) and Chickadee Peak (2811m) offering an iconic back drop fort Boom Lake.
Distance: 10.19km return
Elevation Gain: 197m
Starting from the Banff Canoe Club north of Wolf Street on Banff Ave this easy hike follows the Bow River south as it goes past the Banff pedestrian bridge leading south towards the Cascade of Time Garden southwest of the walking bridge. Continuing along the previous Bow River Trail you arrive at Buffalo Street which you can follow southeast to Surprise Corner and the trailhead for the Tunnel Mountain Hoodoos Trail.
Distance: 1.6km (one-way)
Elevation Gain: 12m
Accessed from the Upper Bankhead Parking Lot. Follow this trail north from the parking lot as its steading ascents towards an old mine building with 2 rooms. About 200 meters further up the trail, is a path to the right offering a not to be missed breathtaking view of Lake Minnewanka. Return to the trail and continue up past viewpoint of Mount Rundle to the tree line, from here keep going past a boulder field and you are rewarded with a great view of the Cirque.
Distance: 9.3km (return)
Elevation Gain: 663m
Located 2km from downtown Banff, this easy hike starting at the parking lot at the end of Cave Ave (see Directions to Cave and Basin National Historic Site from Banff Ave on map) shares the trailhead with the Sundance Canyon Trail. After leaving the Sundance Canyon Trail and continuing around the wetlands which is filled by water from the Sulphur Mountain Hot Springs which flow out of its lower slopes. I highly recommend checking out the Cave and Basin, you are granted FREE access as long as you have a valid Parks Canada Pass which you need to access Banff National Park in the first place, remember to bring it with you on your person for free admittance.
Distance: 3.22km (loop)
Elevation Gain: 29m
This is just a short easy hike around the ponds. Cascade Ponds features picnic tables with fireplaces and there are 2 shelters in case of bad weather. This is a great spot for a picnic.
Distance: 1.87km (return)
Elevation Gain: 10m
From golden larches in the fall to wildflowers in the summer this trail which is accessed by turning onto the Sunshine Road 7.9km west of Banff (give or take) and follow it for approximately 7.8km until you reach the Sunshine Parking Lot. Egypt Lake Trail starts off by following Healy Creek with Mount Bourgeau (2930m) rising to the north as the trail heads southwest passing Wawa Ridge (2384m) to the south prior to a junction in the trail. Heading south from here will take you to Simpson Pass along the Simpson Pass to Healy Pass Trail I have included the profile below. Continuing west along Healy Creek the Egypt Lake Trail you start the ascent to Healy Pass Meadows. Continue heading west from here as you descend 366m as you make your way to Pharaoh Creek and E13 Egypt Lake Backcountry Campground which holds 15 sites and one of the largest backcountry campgrounds within the park. Also available here is the Egypt Lake Shelter which can also be booked through Parks Canada online or by phone. From here multiple hikes can be done including the Pharaoh Creek Trail and Pharaoh Lake & Black Rock Lake from Pharaoh Creek Trail among others. If you plan on starting this hike late you can book E5 Healy Creek Backcountry Campground so you’re not rushing your adventure, it has 5 sites. Be sure to check Parks Canada prior to booking as last in 2020 these sites were closed do to a wolf in the area.
Distance: 24.55km (return)
Elevation Gain: 684m
Accessed from the southeast side of Lake Louise, this short hike with moderate elevation offers beautiful view of Lake Louise and the Fairmont Chateau Lake Louise. A perfect place to get a great photo to show your friends where you were. If it is your first time visiting the area, I highly recommend this hike.
Distance: 2.52km (return)
Elevation Gain: 139m
Park on the Mount Norquay Road, between the tracks and the Trans-Canada Highway roughly 190m north of the Fenlands Banff Recreation Centre on left hand side of the road (see map). This forested loop trail takes you along the banks of Forty Mile Creek through a white spruce forest that offers great opportunities for wildlife viewing. Be extra quiet along its western side as it is closer to Vermillion Lakes and seems to be a hotspot of animal activity. I have spotted White-tailed Deer here on numerous occasions. Dogs are allowed on this trail but must be kept on leash. You can also return via the highway which passes the Banff Town Sign, which is a popular photo op for many visitors, see Fenland alt Return Route profile below.
Distance: 1.85km (return)
Elevation Gain: 9m
Accessed approximately 13km west of Banff on the south-side of the Trans-Canada Highway at the Bourgeau Lake Parking Lot. This path enters the forest and follows Wolverine Creek for over 7km as it makes its way to Bourgeau Lake. Rest here for a bit before you continue up to Harvey Pass. Here the trail is quite rocky and may require scrambling. You will pass Wolverine Lakes East and Wolverine Lakes West (aka Wolverine Lakes 1 and 2) as you head towards Harvey Lake. Harvey Pass is a short distance southeast past Harvey Lake. From the pass views of Mount Bourgeau (2930m) and Little Bourgeau (2603m0 greet you from the West with Wawa Ridge (2384m rising from the south. Whether you decide to stop at Bourgeau Lake or continue to Harvey pass, this is one trail you need to hike in Banff National Park.
Distance: 18.81m (return)
Elevation Gain: 1053m
From golden larches in the fall to wildflowers in the summer this trail which is accessed by turning onto the Sunshine Road 7.9km west of Banff until you reach the Sunshine Parking Lot. Healy Creek Trail starts off by following Healy Creek with Mount Bourgeau (2930m) rising to the north. Within roughly 5km from the trailhead you pass E5 Healey Creek Backcountry Campground which has 5 sites of which you need to book online at Parks Canada or by phone. From here continue along and you will soon arrive at the junction of Healy Creek Trail and Simpson Pass to Healy Creek Trail (see profile below for Simpson Pass to Healy Creek Trail). From here continue west to another junction which is the junction of Healy Creek Trail and Simpson Pass to Healy Creek Trail on the other side. From here continue on towards Healey Pass which offers breathtaking views of Egypt Lake and the Monarch Ramparts.
Distance: 18.05km (return)
Elevation Gain: 684m
Drive towards Lake Minnewanka Scenic Trail from Banff. Take the second signed right heading towards Two-Jack Lake. Take the first right, to Johnson Lake. Follow this road to the end and you will see the parking lot there. This is a short easy hike around Johnson Lake which offers breathtaking views of Mount Inglismaldie (2964m), Mount Girouard (2995m) and Mount Peechee (2935m). You will often see fisherman trying their luck here.
Distance: 2.92km (return)
Elevation Gain: 21m
This hike is accessed by from the Plain of Six Glaciers Trail, on the northeast side of Lake Louise.
This hike follows switchbacks which offer nice views of Lake Louise as the trail passes Mirror Lake and a mountain shaped like a beehive known as The Big Beehive, before turning into a section of steps which climb up a small rock face. A waterfall can be seen on your right here as you make your way towards Lake Agnes, and the Lake Agnes Tea House. This is a super popular trail so expect it to be overly busy, especially on the weekends.
Distance: 6.55km (return)
Elevation Gain: 406m
Lake Annette, Giant Steps, and Horseshoe Lake Loop Trail
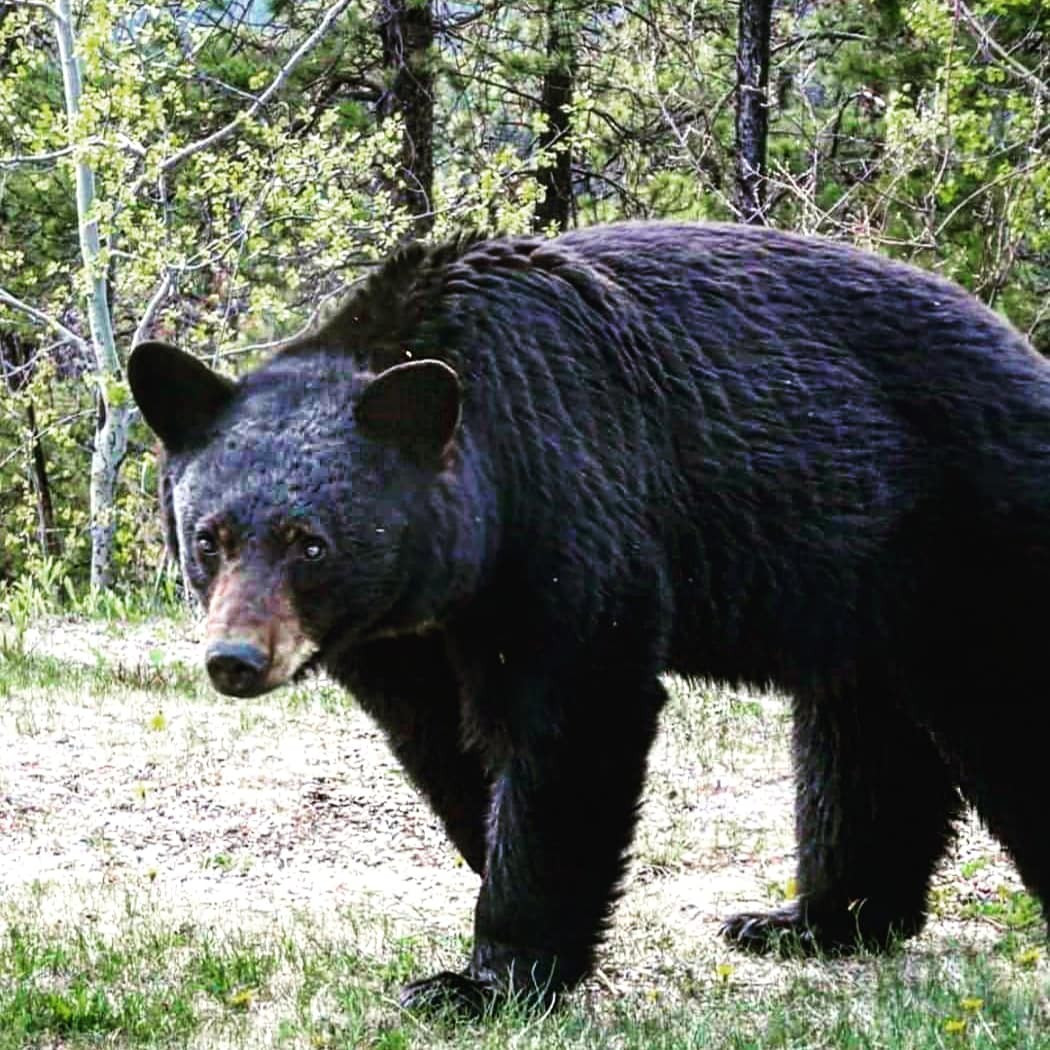
Carry Bear spray on this hike as this is known Grizzly Bear country and are often seen along this hike.
Distance: 22.45km (return)
Elevation Gain: 480m
While some people have posted online that this trail starts from the Big Beehive in Lake Louise, it actually starts at Mirror Lake and heads southwest towards the Plain of Six Glaciers Trail and the associated teahouse (another 1.5km west roughly to the actual teahouse. Some people enjoy doing it in reverse from the Plain of Six Glaciers Trail to Lake Agnes Teahouse via Mirror Lake, be sure to carry bear spray as Grizzly Bears are known to be seen around this area each year.
Distance: 2.78km (one-way)
Elevation Gain: 173m
With parking near the dam of the Lake Minnewanka Scenic Drive this hike has some seasonal trail restrictions because Lake Minnewanka is on the edge of three “core areas” for Grizzly Bears in Banff National Park. Inside these core areas are critical bear habitat, and a large number of female grizzlies raise their cubs here. Buffalo berries also grow in abundance here.
Because of this a seasonal trail restriction from July 10th to September 15th and the following requirements be met:
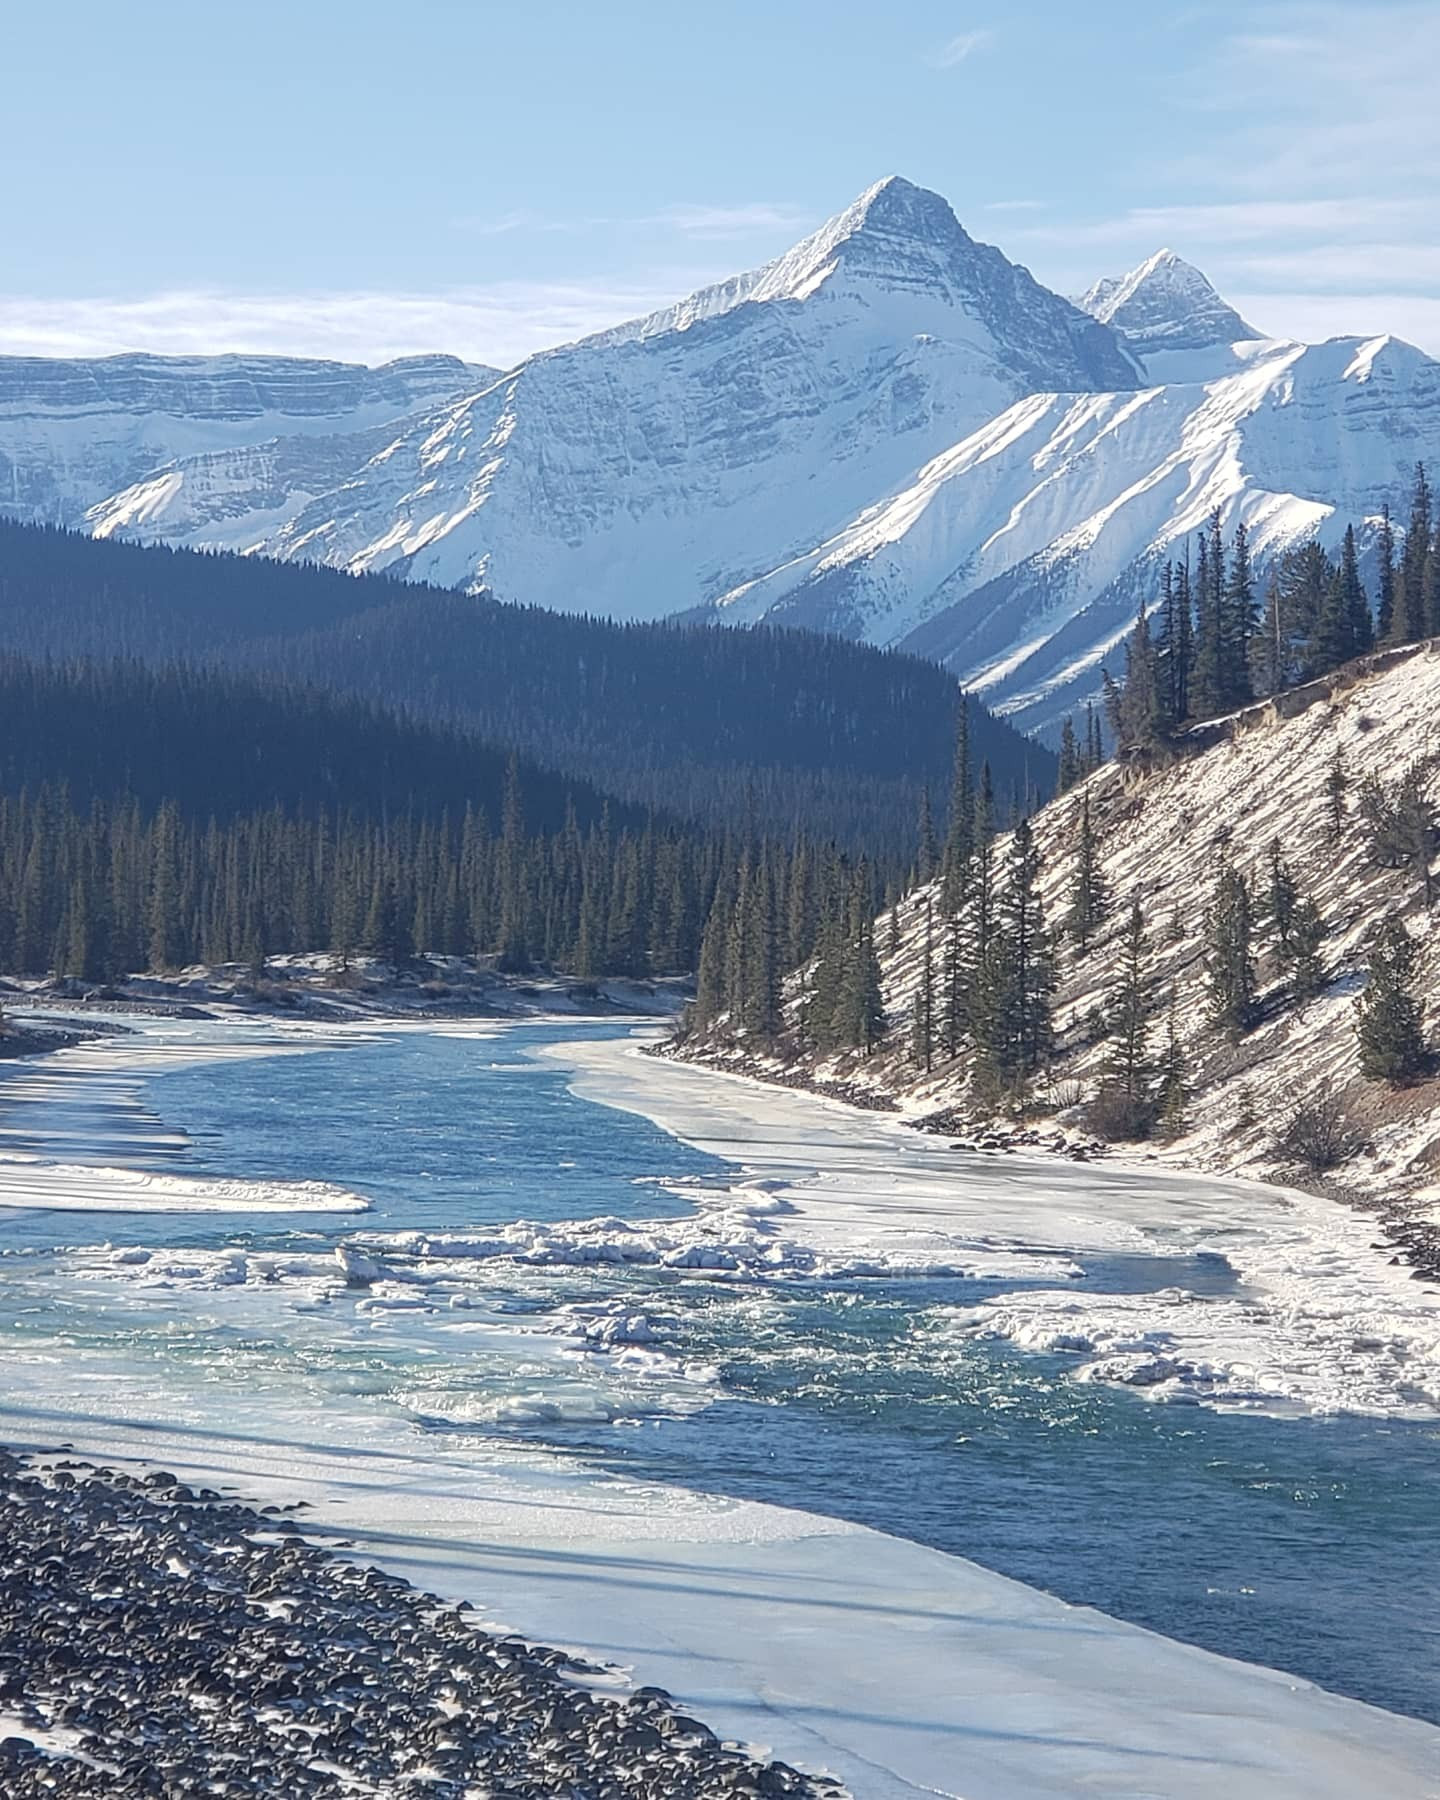
This hike starts out by following the northern shore of Lake Minnewanka as it makes its way east. After the Stewart Canyon Bridge this trail switchbacks as it heads up, be careful as there are some steep sides on your right, and you make your way around the inlet. As you continue along the trail you reach LM8 Backcountry Campground almost 9 km from where you started, I had heard there was deer in this area and was not disappointed as I saw a doe heading towards the campground. I assume it had come from the lake. WATCH OUT FOR TICKS IN THIS AREA ESPECIALLY IF YOU DECIDE TO DO AYLMERS LOOKOUT TRAIL IT IS ALSO PRIME GRIZZLY BEAR HABITAT HERE. With multiple campsites that can be reserved through Parks Canada website along this trail as I have placed on the map. This is definitely one of the best hikes within Banff National Park, just remember to carry bear spray and bug spray which is effective against ticks.
Did you know that Minnewanka means “Water of the Spirits” in Nakoda. European settlers would later name it Devil’s Lake due to some unexplained occurrences and sighting in the area. Dams were also built here in 1912 and 1941 to supply the town with hydro-electric power, but the dam built in 1941 raised the lake 30m (98ft) and submerged the resort village of Minnewanka Landing that had been there before the water levels increased. Now the lake is quite popular with scuba divers who dive down to see the submerged village and the old dam built in 1912.
Distance: 58.39km (return)
Elevation Gain: 95m
This hike begins just past the Moraine Lake Lodge along the shore of Moraine Lake. This trail probably the most well-known hike for viewing larch trees in Banff National Park. This hike is best done in groups of 4 as I have seen forest rangers turn people back due to having bears in the area, be Bear Aware. The trail ascends quickly through the forest offering glimpses of Moraine Lake. The path then follows switchbacks as it climbs higher and more and more larch trees come into view. Soon the forest will start to open up as you arrive at Larch Valley with the 10 peaks adding a perfect backdrop for your photos. It truly is a magical place and makes those long switchbacks worth it. My favorite photo here comes from the Bow Range with Pinnacle Mountain (3070m) as a backdrop for Minnestimma Lake. But there are multiple views in this area, I don’t suggest a weekend hike into here as it is super busy during Larch Madness. From the lake you can continue up to Sentinel Pass, I have included the trail on the map as well as the profile for it below.
Distance: 8.76km (return)
Elevation Gain: 563m
National Park: Banff
Starting the end of the Lake Agnes Trail by the teahouse this hike helps you avoid the crowds at Lake Agnes. The remains of an old observation tower can be seen near the summit.
Distance: 1.76km (return)
Elevation Gain: 64m
Accessed about roughly 500m before Upper Bankhead on the right-hand side (southeast) of the Lake Minnewanka Scenic Drive you will see a large parking lots (see Banff to Lake Louise Area map). Walk down the hill past what is left of an old lantern house, you will then be on the correct trail which is an interpretive loop that will explain about some of the old buildings (basically foundations) that you will encounter.
Distance: 1.08km (return)
Elevation Gain: 26m
In order to complete this hike, you will need to book Sk18 Merlin Meadows Backcountry Campground prior to the date that you want to do this hike. This hike begins at the Fish Creek Parking Lot. From the parking lot head up the road behind the Lake Louise Ski Resort. As the Temple Ski Lodge comes into view (see my map), start looking for the sigh to Skoki Lodge, Follow this forested trail as it heads up Corral Creek towards the cutoff for Hidden Lake, from here you will soon be entering Boulder Pass before arriving at Ptarmigan Lake. Once past the lake some choose to go counter clockwise around Fossil Mountain (2946m) and camp at Sk11 Baker Lake Backcountry Campground (need reservations to camp here), but for this trail description we ate going to continue towards the Skoki Lakes consisting of Zigadenus Lake and Myosotis Lake. As you continue along the trail further on a junction on your right heading North will take you to the Skoki Ski Lodge (which is open to the public in the afternoons and serves beer and wine – BRING SOME CASH). Sk18 Merlin Meadows Backcountry Campground is just over a kilometer west from here. Return the way you came to the lodge and back out to the main trail and follow it west towards Castilleja Lake and Merlin Lake. From Merlin Lake looking southeast is the Wall of Jericho.
Distance: 33.14km (return)
Elevation Gain: 754m
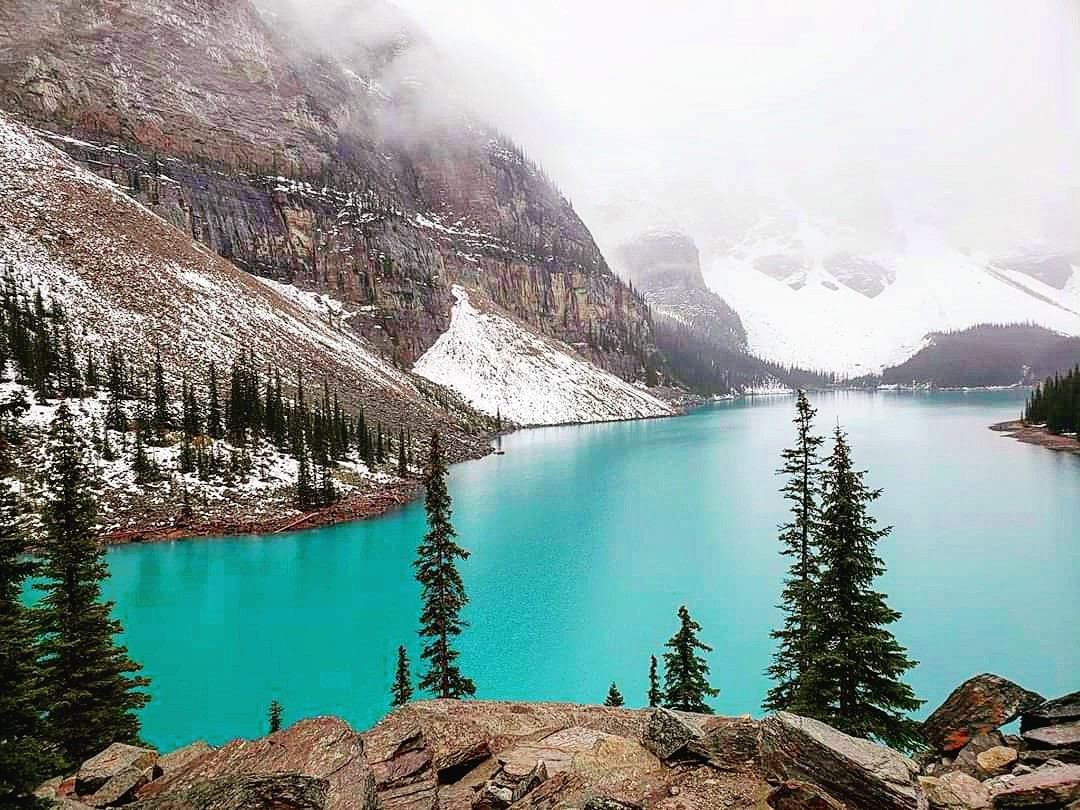
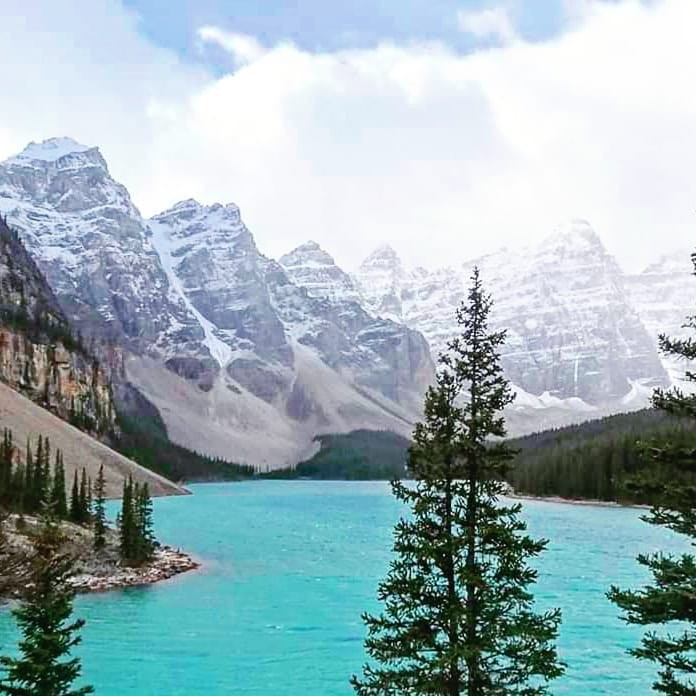
This is where all those famous postcard worthy photos of Moraine Lake are taken. This short easy hike can take more time than expected to complete as this is by far on the most popular areas in Banff National Park and also one of the most photographed lakes in the world. It has appeared in Googles operating system Android as a Background, picture, feature in National Geographic as well as on the reverse side of the 1969 and 1979 20 dollar bill plus many other places. The lake is famous for its glacial fed water which reflects a distinct shade of azure blue. This color is caused by the refraction of light off the rock deposited into the lake on a continual basis by surrounding glaciers.
Distance: 745m (return)
Elevation Gain: 14m
Distance: 2.75km (return)
Elevation Gain: 44m
I am posting this description below directly from the Parks Canada Website and it is the exact one I used to reach the summit and with the serious injuries that have happened here, I feel it best to give their route description to try to help anyone who attempts to climb this. My map shows the numbers which are used in this description as well as I will be posting the actual link from Parks Canada Below this prior to the profile of the hike/scramble.
Mount Rundle Scrambler’s Guide
Mount Rundle, the prominent wedge-shaped peak immediately south of the town of Banff, is one of the most popular climbs in the Canadian Rockies. Rundle’s close proximity to the townsite and the relatively easy route it offers to the top often make this the first “real” climb for many visitors.
While Mount Rundle is considered an easy scramble, all mountains pose hazards. See the detailed route information and important safety tips.
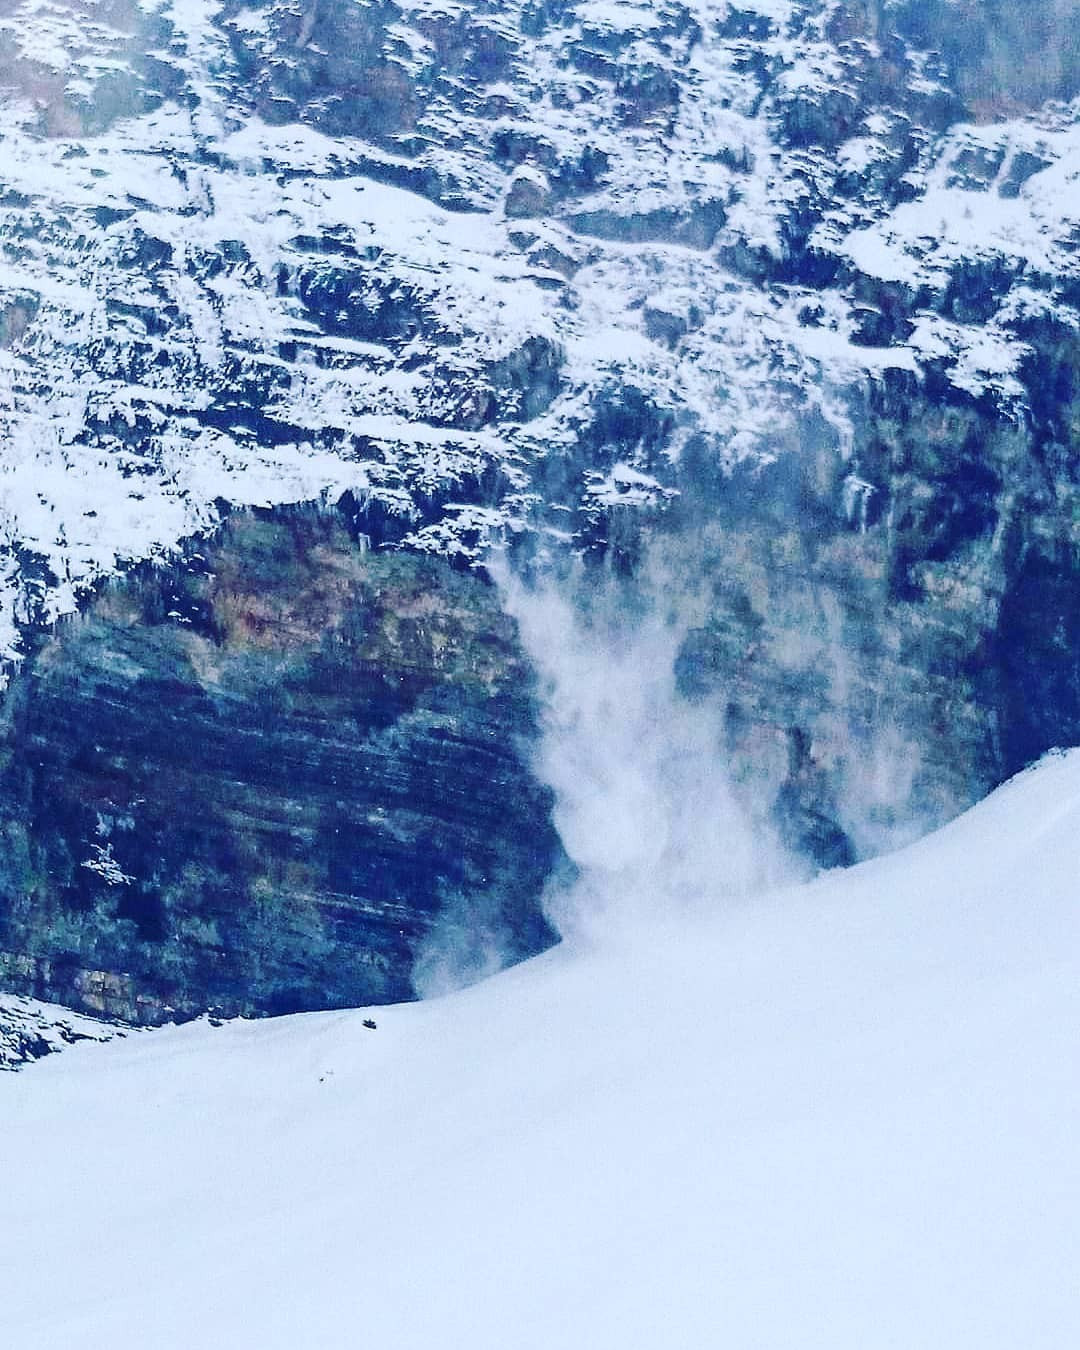
Important! Mount Rundle is a summer climb.
Route conditions are best when there is no snow. The mountain’s shape and direction allow the west face to melt off earlier in the summer than many other local peaks. It is easy to check for snow—the entire route is visible from the road up to Sulphur Mountain and the Upper Hot Springs in Banff.
Trailhead
The trailhead for Mount Rundle is located near the Spray River bridge on the road to the Bow Falls viewpoint and the Banff Springs Golf Course. Park at the Bow Falls Day-use Area. Also accessible by an easy 20-minute walk from downtown Banff.
Walk across the bridge. Follow the Golf Course Road 350 m to the Spray River East trailhead kiosk on the right. Go past the kiosk and head 100 m west on the dirt trail. Take the east-most trail that branches left up the hill at the Spray River Trail sign. (Note: This is not the trail along the shore of the Spray River.) Follow the Spray River East trail for 600 m to the Mount Rundle Trail junction on the left.
The route description starts at this point.
Distance: 13.66km (return)
Elevation Gain: 1466m
To get here park at the trailhead 8kms northwest of Castle Junction on the westside of the TransCanada Highway. This hike starts off by having you walk through a wildlife gate, make sure to close it once you are through. This hike crosses over Taylor Creek via wooden bridges as it makes it way west toward Taylor Lake. Just past 6km you will arrive at the Taylor Lake/O’Brien Lake Junction (just over 200m farther west is Taylor Lake). From the signed junction head left toward O’Brien Lake until you reach a sign which says O’Brien Lake ½ mile with an arrow pointing towards the lake. In roughly 800m you will arrive at a lake surrounded by Larch trees and more than likely you will be able to have it all to yourself as most people stop at Taylor Lake. This is an amazing hike to do in the fall during larch madness.
Distance: 16.69km (return)
Elevation Gain: 666m
Accessed from the northwestern side of Lake Louise, this is one of my personal favorite hikes in Banff National Park. From the majestic views of Lake Louise to the Fairmont Chateau Lake Louise which you pass near the beginning of this hike to the view of Fairview Mountain (2774m) rising up along the southeastern shore of the Lake. Past this is where the trail gets increasingly more scenic as you start to ascend southwest towards the Plain of Six Glaciers Teahouse southwest of Mount Whyte (2983m).
The trail starts out following the shores of Lake Louise as it heads towards the delta created by silt from the glacier melt. This silt reflects off the lake and gives it the beautiful turquoise color it is famous for. Past here, and over a little hill you will encounter the Quartzite Cliffs which are popular for rock climbing. Beyond here the trail starts to climb past many avalanche chutes, BE CAREFUL even in late spring (over 7 avalanche chutes along this trail prior to the teahouse, and big avi chute right after it).This next section from here once you enter the forest and start ascending is where I viewed one of the most photogenic porcupine I have ever seen, he wanted to be friends and tried to follow me lol. Hoary Marmots, and Grizzly Bears are commonly encountered along this section leading to the teahouse. As you get closer to the teahouse Mountain Goats may also be viewed along the cliffs. Remember like all trails in Banff National Park to always have bear spray at the ready. It will not help you in your backpack or behind you. I suggest using a shoulder strap and carrying it near your chest. Great views of Lake Louise can be seen from behind you, I suggest a good zoom lens if you want an epic photo. Next you will come across some switchbacks as you make your final ascent to the tea house, from here you can continue out to the Plain of Six Glaciers or pause and rest at the teahouse. Remember THE TEAHOUSE DOES NOT ACCEPT DEBIT OR CREDIT CARD, ONLY CASH. I always take a 20, 1x 10 dollar bill and two 5 dollar bills with me, as there food is so good. Remember as the season gets on close to Thanksgiving they might start to run out of some items, so be aware, just in case.
Distance: 13.83km (return)
Elevation Gain: 547m
Accessed from east of the Lake Minnewanka Parking Lot, this hike begins by following the shore of Lake Minnewanka as it makes it way towards the bridge over the Cascade River. 200m past the bridge you will leave the main Lake Minnewanka Trail and head towards Stewart Canyon/ This is my favorite part of this hike as the scenery really is amazing along this trail. This part of the trail goes through lush forest while offering amazing views below of the Cascade River and Stewart Canyon as it makes its way towards the confluence of Astley Creek and the Cascade River. There are multiple large rocks and piles of fallen trees to sit on and take a break and have a snack or just enjoy the scenery. This is one hike you should visit in the spring, summer and fall as each season adds its own magic to the area.
Distance: 5.72km (return)
Elevation Gain: 39m
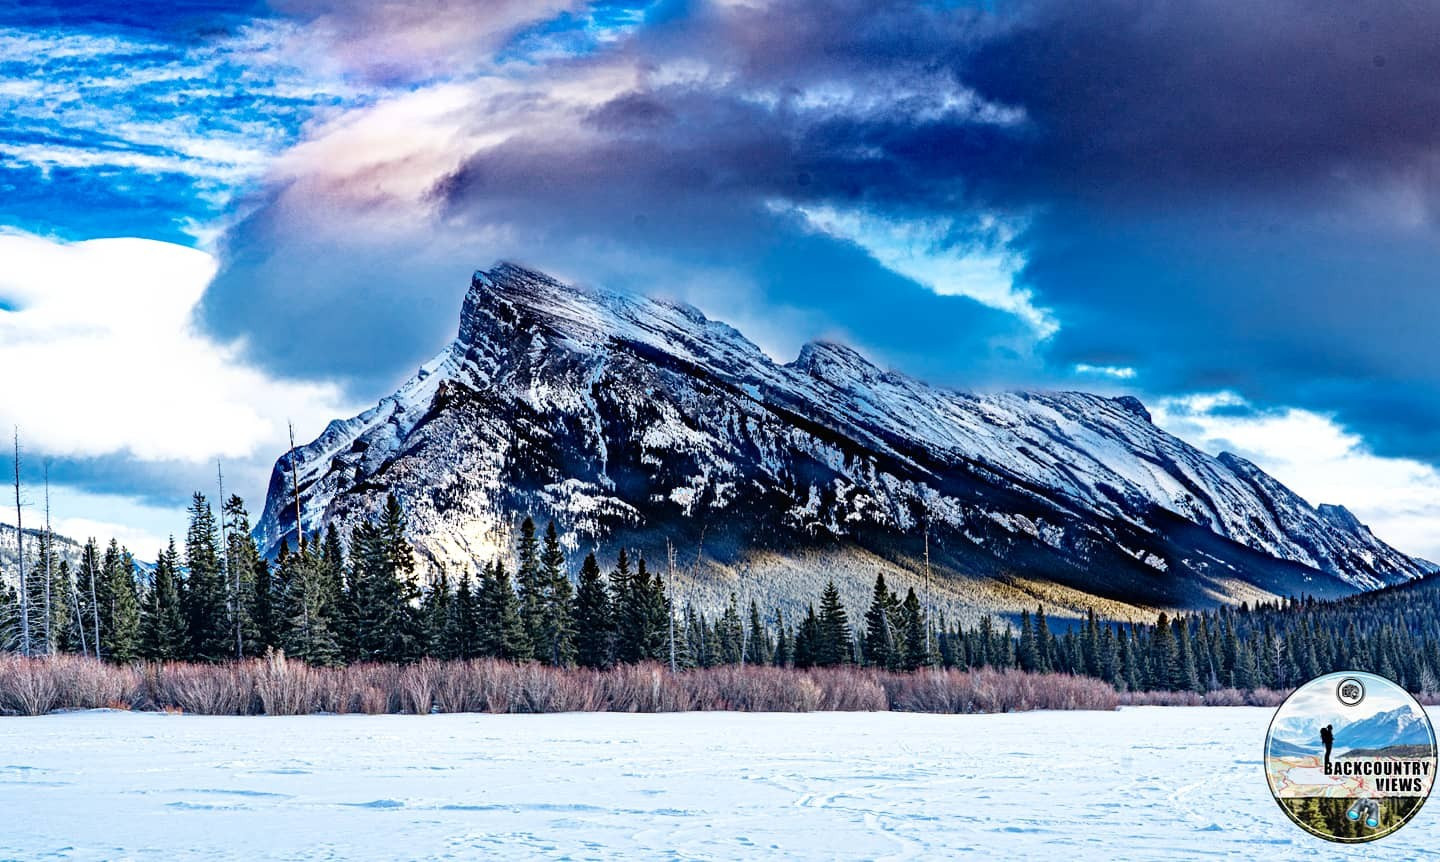
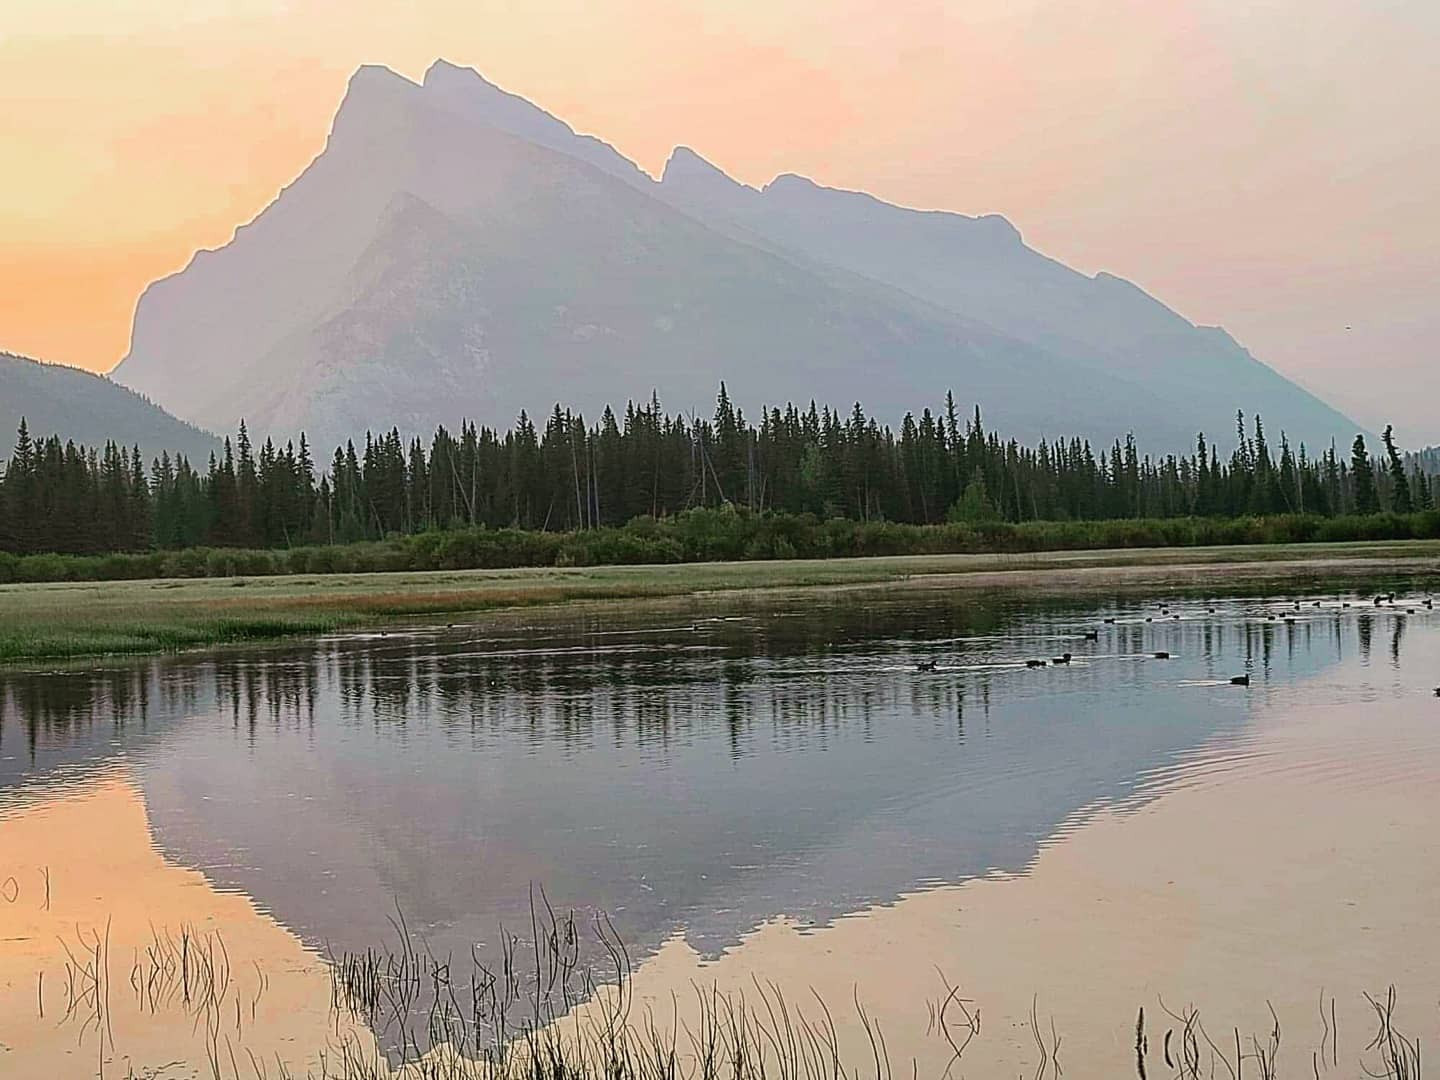
Leaving the Trans-Canada at the Banff West Exit follow the Mount Norquay Road north as it ascends towards the Ski Norquay ski area. Turn right into the main parking lot and there will be a sign on your right indicating the trailhead. This is a steady hike which starts in the forest with only 168m of elevation as it makes its way to the top, spectacular views of Rundle Mountain and Banff can be viewed from here.
Distance: 3.9km (return)
Elevation Gain: 168m
Accessed from the Upper Hot Springs Parking Lot this trail can be very slippery in the spring and fall. This hike follows switchbacks as you make your way towards the summit and the terminal of the Sulphur Mountain Gondola. The switchbacks are draining, and another option is to take the gondola to the top, walk the boardwalk and hike back down. From the summit you can follow the Sulphur Mountain Boardwalk towards the Cosmic Ray Station as you head north. Multiple panoramic views of the Bow Valley await you at every step. Also visit the Above Banff Interrogative Centre. Be sure to check out the Sky Bistro as it offers once of the most scenic views you will ever dine in.
Distance: 18.27km (return)
Elevation Gain: 844m
This trail is mostly paved as it starts from the Cave and Basin National Historic Site, and heads through the trees as it makes it way towards the Bow River, which is a great spot to stop and have a snack or take some photos prior to going uphill toward the Sundance Picnic Area which also offers the only washroom along this hike. After heading uphill and past the picnic area, the trailhead for Sundance Canyon is just ahead, and is also the spot where the pavement ends. From here you need to cross a footbridge and follow the trail as it follows Sundance Creek, the return part of the canyon trail is mostly forested and make for a pleasant stroll.
Distance: 8.52km (return)
Elevation Gain: 169m
To get here park at the trailhead 8kms northwest of Castle Junction on the westside of the TransCanada Highway. This hike starts off by having you walk through a wildlife gate, make sure to close it once you are through. This hike crosses over Taylor Creek via wooden bridges as it makes it way west toward Taylor Lake. Just past 6km you will arrive at the Taylor Lake/O’Brien Lake Junction, just over 200m farther west is Taylor Lake, and the Ta6 Taylor Lake Backcountry Campground which you can reserve at Parks Canada and holds 5 tent sites. Taylor Lakes is surrounded by Mount Bell (2910m) to the south and Panorama Peak (2872m) to the northwest. The 2 mountains rising up to the southwest are Bident Mountain (3084m) and just behind that looms Quadra Mountain (3173m) which all provide beautiful backdrops for camping and photos, O’Brien Lake is a nice side route from here, see O’Brien Lake Trail for more info.
Distance: 13.32km (return)
Elevation Gain: 613m
This hike begins near the Moraine Lake Rockpile and I would strongly suggest bringing a helmet for this scramble. This scramble is basically uphill at with a slope of nearly 45 degrees. Your still ready, I will assume you’re not afraid of heights, After you pass the wooden sign saying “TRAIL TO CONSOLATION LAKES” you will find a cairn marker up ahead on your right hand side. Follow this trail towards a huge scree rockpile. To the left is the gully which will take you to the Tower of Babel. There is no official trail just tiny scree all the way up to the top. This can be quite the climb if you are not an experienced scrambler. The reason I suggested a helmet is that rocks fall down the gully from others hiking ahead of you, also in case you slip. The view of Consolation Lakes and Moraine Lake from the top are amazing and well worth the climb. Just remember to take your time on the ascent and descent as there are a few areas where things could go bad.
Distance: 2.75km (return)
Elevation Gain: 380m
Accessed from Surprise Corner Viewpoint in Banff, the relatively easy hike follows the Bow River east as it passes south of Tunnel Mountain (1692m) as it makes its way toward the Hoodoos. This is a very nice hike through Banff and I highly recommend this trail especially in early morning or in the evening as the views along the Bow River are amazing due to the views of Rundle Mountain in the southeast.
Distance: 8.76km (return)
Elevation Gain: 62m
I have this hike starting from the Lake Agnes Tea House at the end of the Lake Agnes Trail. The trail to Lake Agnes is extremely busy during the summer months, I suggest starting as soon as you can see far enough in front of you to walk, just remember bear spray, as Grizzly Bears are know to frequent the area around Lake Louise. This total hike from Fairmont Chateau Lake Louise just over 10km return roughly. If attempting this in the winter remember just before Lake Agnes, you pass a slope which gets loaded with snows and puts you in the path of a potential avalanche. From the Tea House head counterclockwise around Lake Agnes as you start to moderately ascend to a junction with the more difficult Devil’s Thumb Route and the Big Beehive Trail to Lake Louise Highline Trail (profile below). Turn left and head northeast down towards the Big Beehive shelter. From here the views of Lake Louise and Fairmont Chateau Lake Louise a breathtaking. A great spot to enjoy a snack on a beautiful summer day. You can return the way you came or head down the Big Beehive Trail to Lake Louise Highline Trail and head towards the Plain of 6 Glaciers and the accompanying teahouse.
This short hike along western shore of Moraine Lake is best done after 6pm when the crowds die down and offers amazing views of the Valley of Ten Peak which surround the lake.
1. Lower Trail
Follow the excellent constructed trail that climbs steadily across the lower forested slopes of Mount Rundle. As the mountainside steepens, the trail begins to contour horizontally to the right. After almost an hour of hiking, reach the start of a dozen switchbacks that lead straight up the slope.
2. First Cliff Bands
On the route photo, notice the series of switchbacks actually leads up through a band of rocky cliffs that extend across the mountainside at the same elevation. This obscure cliff band is a significant hazard associated with the climb. Stay on route!
At the top of the switchbacks, the trail resumes a horizontal traverse to the right and soon heads down across the first of two large forested ravines. Shortly after the second ravine, the trail comes to an abrupt end at the edge of a large, rocky gully, known as the Central Gully.
3. Central Gully
The Central Gully marks the end of the hiking trail and the start of the “scrambling” section of the trip. The route to the summit crosses this gully and ascends to the top by way of the forested ridge beyond.
Two key safety pointers here:
From the end of the hiking trail, descend a few meters and cross the gully (which may contain some old avalanche snow) to the bottom edge of an open rocky outcrop on the opposite slope. Scramble around the bottom of the outcrop to its right-hand side. From here, [look back] and spot the marker at the end of the hiking trail.
4. Forested Ridge
Scramble up the steep track in the trees just right of the rocky outcrops. Stick to the most obvious path that climbs directly up the slope. There is no “built” trail—only a few cut trees, and the path is slippery in places. About 100 m up the slope, the path traverses horizontally to the right and away from the steeper slopes overlooking the Central Gully.
From here on, the route climbs almost straight up through the forest. The path is well worn but continuously steep and smooth. Near the treeline the path has eroded badly to expose the smooth bedrock underneath. This entire section can become extremely slippery when wet.
5. The Dragon’s Back
The slope that the route follows is actually a ridge bounded by the Central Gully on the left side and another similar large gully on the right. This ridge leads most of the way to the top. Above treeline the ridge gradually narrows to form the “Dragon’s Back”, a sloping spine of rock between the two gullies. Its surface is the smooth slope of the limestone bedrock. For much of the way, it is covered by loose gravel, and there are steep cliffs on each side. Careful footing! [Look back] for landmarks.
6. The Summit
The ascent beyond the Dragon’s Back is a long and straightforward slog up the loose scree to the summit ridge. The ridge crest is a sharp edge with the vertical east face of Mount Rundle below. Traverse to the right along the ridge for about 100 m (mostly along the right side of the crest) to the summit high point marked by a cairn. There is a modest flat spot here to rest and enjoy the view.
The Descent
Descend by the same route you climbed following the marked route. Retrace your steps. No shortcuts! Do not attempt an alternate descent down either of the gullies below. These may appear feasible options when viewed from the top, but dangerous terrain lies out of sight downhill. People have been trapped or killed in both gullies.
The Dragon’s Back ridge leads down to the trees. The yellow markers guide the way back to the Central Gully. If the trail has been missed and party members have descended too far, the only choice is to climb back up to the trail. Do not attempt to descend any cliffs!
Note: Damage to the switchback area is caused by people taking shortcuts on the way down. Please, stay on the path.
For more information, Follow this link.
Banff’s Smallest Summit is accessed from the Saint Julien Road, it also has an access from Tunnel Mountain Drive as well near the Electric Vehicle Charging Station. Switchbacks lead you through the forest as you ascend to the top. Beautiful panoramic views of the Bow Valley are your reward for this moderate hike.
Distance: 4.39km (return)
Elevation Gain: 257m
| Trail | Distance | Elevation Gain | Terrain |
| Arnica Lake Trail | 9.34km (return) | 570m | An uphill hike |
| Big Beehive Trail | 3.44km (return) | 60m | A popular trail |
| Boom Lake Trail | 10.19km (return) | 197m | Very easy hike |
| Bow River Trail | 1.6km (one-way) | 12m | Easy hike through forest and river |
| C-Level Cirque Trail | 9.3km (return) | 663m | Advanced leg burner to the top |
| Cascade Ponds Trail | 1.87km (return) | 10m | A short easy hike |
| Cave and Basin Marsh Loop Trail | 3.22km (loop) | 29m | A short easy hike |
| Egypt Lake Trail | 24.55km (return) | 684m | A steady hiking trail |
| Faireview Lookout Trail | 2.52km (return) | 139m | A short easy hike |
| Fenland Trail | 1.85km (return) | 9m | A short easy hike |
| Harvey Pass Trail | 18.81km (return) | 1053m | A short hike with some scrambling |
| Healy Pass Trail | 18.05km (return) | 684m | A short hike |
| Johnson Lake Loop Trail | 2.92km (return) | 21m | Very short hike |
| Lake Agnes Trail | 6.55km (return) | 406m | A hike that follows switchbacks. |
| Lake Annette, Giant Steps, and Horseshoe Lake Loop Trail | 22.45km (return) | 480m | Grizzly Bear are often seen on this hike |
| Lake Louise Highline Trail | 2.78km (one-way) | 173m | A short easy hike |
| Lake Minnewanka | 58.39km (return) | 95m | A steady hike that inhabits three core areas for grizzly bears |
| Larch Valley Trail | 8.76km (return) | 563m | An easy hikie following switchbacks |
| Little Beehive Trail | 1.76km (one-way) | 64m | Short hike through old buildings |
| Lower Bankhead Trail | 1.08km (one-way) | 26m | Short hike through old buildings |
| Merlin Lake Trail | 33.14m (return) | 754m | A long steady hike |
| Moraine Lake Rockpile Hike | 745m (return) | 14m | Short hike through tall pine forest to a ridge |
| Moraine Lake Shoreline Trail | 2.75km (return) | 44m | A Short hike |
| Mount Rundle Route | 13.66km (return) | 1466m | Mostly used as a summer climb |
| O'Brien Lake Trail | 16.69km (return) | 666m | Intermediate hiking trail |
| Plain of Six Glaciers Trail | 13.83km (return) | 547m | Intermediate hike with majestic views |
| Stewart Canyon Trail | 5.72km (return) | 39m | An easy hike which should be visited every new season |
| Stoney Lookout Trail | 3.9km (return) | 168m | Forested trail, steep climb |
| Sulphur Mountain Trail | 18.27km (return) | 844m | Switchbacks to the summit |
| Sundance Canyon Trail | 8.52km (return) | 169m | Hiking trail mostly paved |
| Taylor Lake | 13.32km (return) | 613m | Relatively steady hike |
| Tower of Babel Route | 2.75km (return) | 380m | An uphill scramble to the top |
| Tunnel Mountain Hoodoos Trail | 8.76km (return) | 62m | Forested trail |
| Tunnel Mountain Trail | 4.39km (return) | 257m | Switchback through the forest with beautiful views of the Bow Valley |
This route description is aimed at strong hikers and scramblers.
Summit: 2 949 m (9 675 ft.)
Elevation gain of climb: 1 577 m (5 175 ft.)
Distance: approx. 11 km round trip
Average round-trip time: 7-8 hours
The easiest route up Mount Rundle ascends the gently sloping right-hand profile of the mountain, as viewed from Banff. This is a non-technical climb if on the correct route and in the right season. Aside from sturdy hiking boots, no special climbing gear is required. Most of the route to the summit entails very steep, strenuous hiking. On much of the climb, the sloped footing can be awkward and tiresome and can be very slippery in wet conditions. The standard route is straightforward, but there are several places where mistakes can lead to disaster.
This route description begins at the junction of the Mount Rundle Trail and Spray River Trail (see trailhead information). The following description matches the numbers on the route photo.
The maps, GPS data and elevations on profiles are provided for reference purposes only and to help you plan you next outdoor adventure. Maps can be used for navigation and you can open them up in Caltopo for a better viewing experience. Backcountry Views makes no guarantees, representations or warranties respecting this data, either expressed or implied. Backcountry Views assumes no responsibility for damages or other liabilities due to the accuracy, availability, use or misuse of the information provided. I use the information provided within this website to help plan my hikes from elevations to different types of terrain. This info is free to use, as I want to help everyone have a safe enjoyable time while hiking, thank you very much. I hope you find this info to be a benefit to you. For updates follow me at backcountryviewsofficial on Instagram.


